
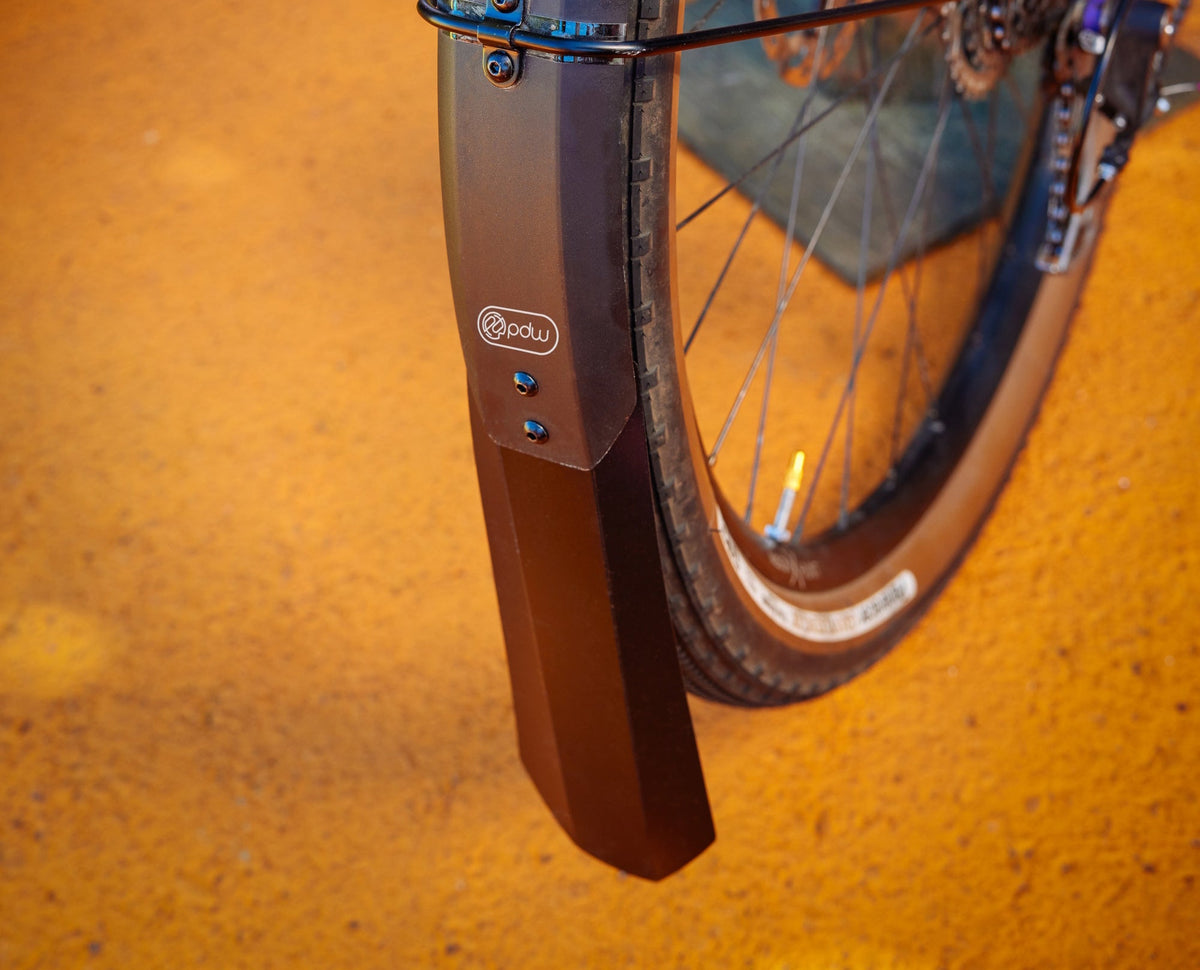
Learn how to choose bike fenders that fit your wheel size, tire width, and frame. Compare full-coverage vs. clip-on fenders, materials, and install tips.
Fenders: Who and What are They For?

Bicycle fenders are one of those pieces of gear that you don’t think about until the moment you need them, at which point you really need them. But as soon as the clouds roll in and the roads get wet, they become the difference between a fun ride and a miserable one.
When riding in (or immediately after) a rainstorm, your bike’s wheels will spray moisture and debris from the road onto you and your drivetrain. A raincoat isn’t enough to cover the entire splash zone, which usually includes your shoes, shins, butt, back, and face. That’s where fenders come in.
The purpose of fenders is simple: to shield you and the bike from moisture and mud. But what style of fenders you need, and the exact model that will be compatible with your rig, is where everything gets a little more complicated.
At Portland Design Works, we’ve been designing and installing fenders for nearly two decades. Our fenders have been recognized as best-in-class by some of cycling’s biggest publications and are trusted by many of our favorite framebuilders. They’re beautiful, sturdy, and rattle-free—and can be fitted to almost any ride. Here’s everything you need to know to get started.
 |
 |
Different Fender Styles and What They're Good For
There are two main types of fenders: Full-coverage and clip-on. Full-coverage fenders bolt to your frame and wrap around most of the wheel, while clip-ons attach with a strap, clip, or single bolt and can be installed in seconds. Both can effectively keep moisture off of you and your rig, so which type is right for you depends on how and where you ride, what fits on your bike, and how much coverage you want.
There is a range of options in material, size, shape, and mounting points for both clip-on and full-coverage fenders. Generally speaking, we recommend full coverage fenders to anyone who rides in the rain more than a few times a month. If you mostly ride on dry surfaces and only need insurance against the occasional storm or muddy trail, clip-on fenders will most likely be sufficient and the more straightforward option.
|
How to Choose Full-Coverage Fenders that Actually Fit Your Bike
Every bike is different, and whether a specific fender can fit and attach to any given frame depends on its overall geometry. The factors listed below often end up being the determining ones. If you’re unsure about what to choose, you can visit your local bike shop to confirm compatibility and get help with installation.

Using Your Wheel Size to Determine Your Fender Size
Wheel size: Start with the diameter of your wheel, which you can find written on your tire. Remember that 700c and 29” are the same size, as are 650b and 27.5”. It’s best to match your fender size to your wheel size. However, if that’s not possible, you can size up—with compromise. For example, 650b and 700c fenders will work with 26" wheels, but they may not follow the wheel diameter closely and may look odd. By contrast, 650b fenders will not work with 700c wheels, nor will 26” fenders work with 650b wheels. You get the idea.
Tire width: This dimension can also be found written on the tire, but it doesn’t hurt to measure. Tires can sometimes run wider or narrower than labeled, and do make sure they’re fully inflated before breaking out the tape measure. As a general rule, look for fenders that are around 10 mm wider than your tires—the gap leaves space for the tire to wobble a bit without rubbing.
|
Other Fender Fit Guide Considerations
Frame clearance: Fenders need to fit in the gap between the tire and the fork crown, brake bridge, seatstays, and chainstays. Check for clearance between the front wheel and pedals, too—on smaller bikes with steeper head tube angles, the pedals might bump against a front fender when you’re turning. If your tires are already nearly brushing your frame or pedal cranks, full-coverage fenders likely won’t work with your ride.
Brake type: Rim brakes can limit fender width, because they have to fit under the calipers. Disc brakes, on the other hand, usually involve much less hassle. Disc brakes are sometimes mounted at the same attachment point as a fender stay. If you run into issues there, a Disc Brake Spacer Set creates room for both.


Mounting points: Most bike frames have a hole in the fork, threaded eyelets near the dropouts, and a mount at the brake bridge for attaching full-coverage fenders. PDW's Full Coverage Fender Fit Guide covers each mounting point in detail. Not every frame comes with eyelets, but we have several workarounds for that:
-
Minoura thru-axles add eyelets to thru-axle bikes.
-
An Eyelet Set attaches to quick release skewers, creating a mounting point for fenders
-
The Rear Hanger for Braze-ons Under Brake Bridge makes it possible to bolt the hanger directly to an eyelet located on the underside of the brake bridge.
Choosing Between Plastic and Aluminum Fenders
Fenders are primarily made with one of four materials: aluminum, polycarbonate (plastic), stainless steel, and carbon fiber. All of them have advantages and drawbacks when it comes to performance, price, and durability, which are broken down in the table below. Which material is right for you depends on your budget and riding priorities.

We offer fenders made out of aluminum, plastic, and recycled plastic. We find these hit the sweet spot between performance, lightness, durability, and affordability.
|
How to Choose the Right Clip-on Fenders
So, you’ve decided to skip the fit and mounting point rigmarole that comes with full-coverage fenders and opted for the simplicity of clip-ons—good for you. Maybe you want clip-on fenders because your frame lacks mounting points, maybe your tires are too wide, maybe you only need coverage for the occasional jaunt on muddy trails or rainy roads. Maybe your eyes glazed over trying to parse all the specs involved with more permanent options. No matter your reason, clip-on fenders are ready to welcome you with open arms.

While simpler and quicker to install—most can be installed without tools or with only one bolt—there are still a few factors to consider when selecting clip-on fenders. Namely, size and attachment point (don’t worry, there are still no eyelets involved). Our clip-on fenders are available in styles that attach at the seatpost, downtube, and fork, and are compatible with just about any bike.
Note that clip-on fenders are shorter than full-coverage fenders and are positioned farther from the tire, so they block less spray. However, they’re usually enough to keep the worst of it off your back and face, which is much better than nothing.
Other Fender Features to Consider
Once you’ve settled on the right style, size, and material, it’s the little details that can make all the difference. In our years of experience designing and installing fenders, we’ve dialed in the following features to increase functionality and safety.
-
Mudflaps. A rear flap keeps spray off the rider behind you; a front flap keeps water off your shoes and drivetrain. All PDW full-coverage fenders include mudflaps, and replacement Mudflap Sets are sold separately.
-
Reflective accents. Safety first! Reflective detailing on our fenders adds visibility in low light.
-
Adjustable stays. Stays that slide through their mounts let you set an even gap between fender and tire. Many of our full-coverage fenders feature double stays to eliminate rattle.
-
Safety release tabs. If a stick jams between the tire and fender, the tabs let the front fender pop free so the wheel keeps turning. Every PDW full-coverage fender has them.
-
Rebuildable construction. Bolted, not riveted, fenders can be repaired piece by piece. Every part of a PDW full-coverage fender is replaceable, so a bent stay or a move to a new bike doesn't mean new fenders.

Tips for Installing Fenders at Home
Most riders can install full-coverage fenders at home in about an hour with basic hand tools. If you run into issues like tight frames or missing mounts, a mechanic at your local bike shop should be able to help troubleshoot. Here are a few tips for mounting fenders at home.
-
Read the manual and lay out the parts. This is one of those tasks where you really do need to read the instructions. PDW manuals label each part with a letter and walk you through each step. Find yours on the FAQ & Manuals page.
-
Mount the front fender at the fork crown first, then attach the stays at the dropout eyelets. If your fork has only an underside crown hole, use large rubber or leather washers on both sides.
-
Mount the rear at the brake bridge, then the chainstay bridge, then the stays. No chainstay bridge eyelet? A zip tie works; use two, tightened evenly, if there's no bridge at all.
-
Set an even gap. Slide the stays until the fender follows the tire with a consistent space all the way around. This is what makes fenders quiet and good-looking.
-
Use blue threadlocker on bolts. Frame-eyelet bolts are standard M5, so replacements are easy to find at any hardware store.
-
Spin and check. Turn the wheel, squeeze the brakes, and turn the bars. Listen for rub or rattle. Electrical tape or anti-rattle tape at contact points quiets a noisy fender.
-
Re-check after a week. Bolts can settle; give them a quick snug.


Share:
Repair, Refurbish, Rejoice! A Guide To Rebuilding Your PDW Fenders